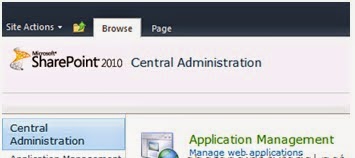
Now you should be ready to install Sharepoint.
Setup the Sharepoint server just like you did for SQL Server by adding the same roles in your server manager. Add the required features if prompted.
Setup the Sharepoint server just like you did for SQL Server by adding the same roles in your server manager. Add the required features if prompted.
To install Sharepoint Server 2010 you need to install the
following prerequisites:
·
Windows Identity Foundation (WIF) -KB974405
·
Microsoft Sync Framework Runtime v1.0 (X64)
·
Microsoft SQL Server 2008 Native Client
·
Microsoft Filter Pack 2.0
·
Microsoft .NET Framework 3.5 SP1
·
Hotfix for Microsoft Windows (KB976394)
·
Windows Powershell v2
·
Microsoft Chart Controls for Microsoft .NET
Framework 3.5
Add the sqlSvcAcc account to the administrators group on the
server where you want to install SharePoint:
Before you can install Sharepoint you need to go into Local
Group Policy Editor and change "System cryptography: Use FIPS compliant
algorithms for encryption, hashing, and signing" from Enabled to
Disabled. This setting enabled prevents
the Sharepoint Server from communicating to the SQL Server. The path is: Computer Configuration\Windows
Settings\Security Settings\Local Policies\Security Options
Install SharePoint 2010 using a complete server farm
installation
If the installation wizard has finished create a new server
farm:
Now you need to use the SharePoint 2010 Farm Account
(spFarmAcc):
After clicking "Next" you come to the passphrase
section.
Create a Passphrase.
This is for authentication purposes if new servers want to join the
farm. For our environment there will
more than likely be no additional servers added so make it whatever you wish.
Here you can specify a specific port to use or just keep it
unchecked and use the default setting.
For Security settings keep the default "NTLM" selected and
click "Next".
Select next at the next page and it should take you to
"Configuring SharePoint Products" page.


No comments:
Post a Comment